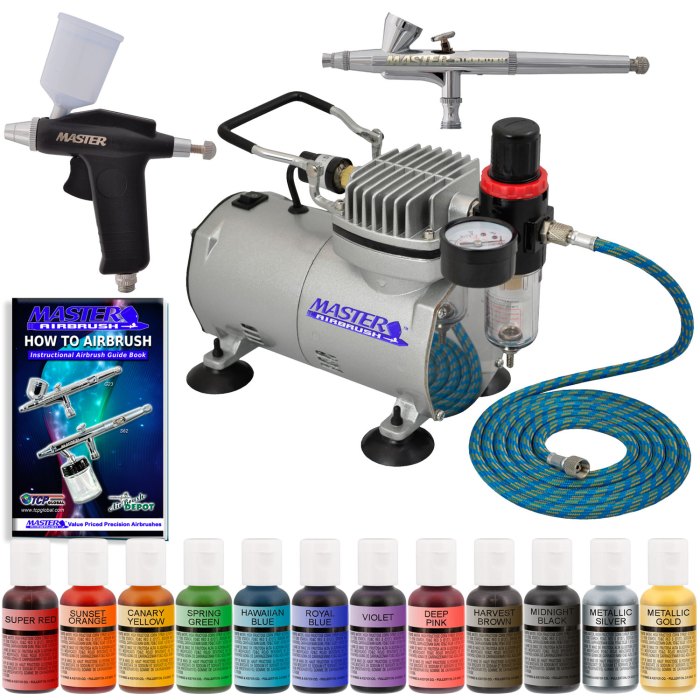
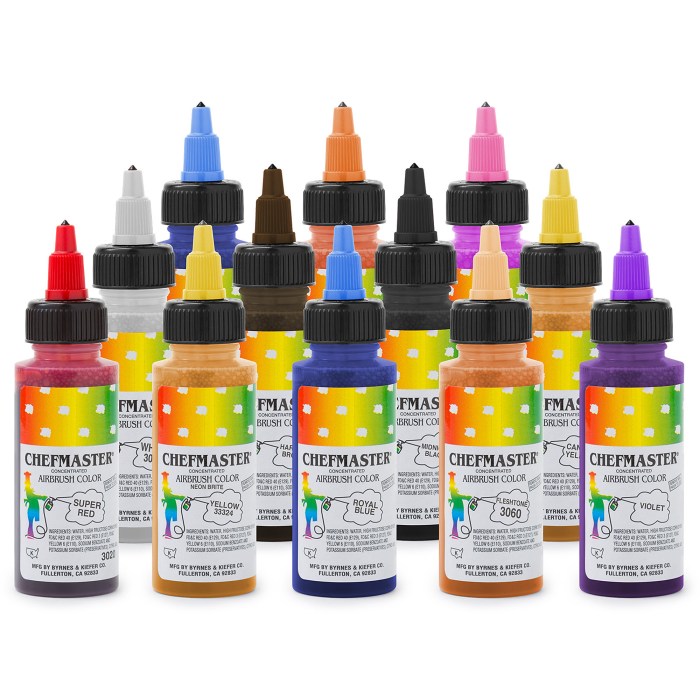
Airbrush Techniques for Cake Decorating: Airbrush Food Coloring For Cake Decorating

Airbrush food coloring for cake decorating – Airbrushing adds a professional, flawlessly smooth finish to cakes that’s hard to achieve with other decorating methods. It allows for subtle shading, vibrant highlights, and intricate designs, transforming a simple cake into a stunning masterpiece. This section will guide you through the essential techniques, helping you master this versatile tool.
Before you begin, ensure your cake is properly prepped. Crumb coat it smoothly, and chill it for at least 30 minutes to prevent the frosting from being softened or damaged by the airbrush. Protect your work surface with newspaper or a drop cloth, and wear a mask to avoid inhaling the food coloring mist.
Basic Airbrushing Steps
The fundamental process is surprisingly straightforward. Mastering these steps will lay the foundation for more advanced techniques.
- Prepare your equipment: Fill your airbrush with diluted food coloring. Start with a light concentration and add more as needed. Test the spray on a scrap piece of paper or cardboard to adjust the pressure and consistency.
- Maintain a consistent distance: Hold the airbrush approximately 6-8 inches from the cake’s surface. Moving too close can result in blotches, while moving too far away creates a weak, uneven spray.
- Use overlapping strokes: Avoid making long, continuous strokes. Instead, use short, overlapping strokes to ensure even coverage and prevent streaks. Keep your hand steady and move smoothly.
- Practice makes perfect: Experiment on scrap pieces of cake or frosting to find the right pressure and distance before applying it to your masterpiece. This helps you avoid costly mistakes on the final product.
Shading Techniques
Shading adds depth and dimension to your cake designs, making them look more realistic and visually appealing. This is achieved by using varying concentrations of color and manipulating the airbrush distance.
- Start with a light base coat of your chosen color.
- Use a darker shade of the same color to create shadows in the areas you want to recede. Hold the airbrush slightly closer to the cake for a more intense color.
- Use a lighter shade to highlight areas that should appear to protrude.
- Blend the colors softly using gentle, overlapping strokes to create a seamless transition between light and dark.
Highlighting Techniques
Highlighting emphasizes specific features and adds a touch of brilliance to your cake decorations. This is achieved by using a lighter color or a metallic sheen.
- Identify the areas you want to highlight; typically these are raised areas or edges.
- Use a very light color, or even a shimmery edible luster dust mixed with a small amount of alcohol, in your airbrush.
- Use a light hand and hold the airbrush further away from the cake to achieve a delicate, subtle highlight.
- Avoid over-highlighting, as this can make the cake look unnatural.
Stenciling Techniques
Stenciling allows for the creation of intricate patterns and designs with precision and ease. This method offers limitless design possibilities.
- Secure your chosen stencil firmly onto the cake using food-safe tape.
- Hold the airbrush perpendicular to the stencil, maintaining a consistent distance.
- Use short, even strokes to apply color to the exposed areas of the cake.
- Carefully remove the stencil to reveal your perfectly airbrushed design.
Tips and Tricks for Smooth Coverage
Achieving a flawless airbrushed finish requires attention to detail and practice. These tips will help you avoid common mistakes and achieve professional-looking results.
Airbrush food coloring offers incredible precision for cake decorating, allowing for intricate designs and subtle shading. For achieving deep, intense blacks, however, you might consider supplementing your palette with a vibrant black, such as the black gel food coloring which provides a rich base for layering. This then allows you to create even more striking effects with your airbrush techniques, achieving professional-level results.
- Thin your colors properly: Too thick a mixture will clog the airbrush, while too thin will result in a weak spray. Experiment to find the perfect consistency.
- Clean your airbrush regularly: Cleaning your airbrush after each use is crucial to prevent clogs and ensure the longevity of your equipment.
- Use a clean, dry cake surface: Any moisture or crumbs on the cake’s surface can affect the airbrushing process and lead to uneven coverage.
- Practice your technique: The more you practice, the more confident and skilled you will become. Don’t be discouraged by initial imperfections; keep practicing!
Color Mixing and Blending

Airbrushing cake decorations opens up a world of color possibilities, but mastering color mixing is key to achieving truly stunning results. Understanding how colors interact and blend will allow you to create unique shades and gradients, taking your cake decorating to the next level. This section will guide you through the basics of color theory and provide practical tips for mixing and blending your airbrush food colorings.
Mixing airbrush food colors is similar to mixing paints, but the process is often more delicate due to the thin consistency of the colors. A little goes a long way, so start with small amounts and gradually add more until you achieve your desired shade. Remember that the colors will appear slightly more intense once dry, so account for that when mixing.
Color Chart for Airbrush Food Coloring
This chart illustrates some basic color mixing combinations. Remember that the exact shades will vary depending on the brand and specific colors you are using. Experimentation is key to finding your perfect palette!
| Base Color | Added Color | Resulting Color | Example Application |
|---|---|---|---|
| White | Red | Light Pink | Gentle blush on a wedding cake |
| White | Small amount of Red + Small amount of Blue | Lavender | Delicate accents on a pastel cake |
| Red | Yellow | Orange | Sunset effect on a layered cake |
| Blue | Yellow | Green | Leaves and foliage on a woodland-themed cake |
| Red | Blue | Purple | Rich purple accents on a regal cake |
| Yellow | Small amount of Blue | Lime Green | Vibrant highlights on a tropical cake |
| Black | White | Gray | Subtle shading on a sculpted cake |
Principles of Color Theory in Airbrushing, Airbrush food coloring for cake decorating
Understanding the color wheel is fundamental to successful color mixing. Primary colors (red, yellow, blue) cannot be created by mixing other colors, while secondary colors (orange, green, purple) are created by mixing two primary colors. Tertiary colors are formed by mixing a primary and a secondary color. Knowing these relationships allows you to predict the outcome of your color mixes.
Complementary colors are opposite each other on the color wheel (e.g., red and green). Mixing complementary colors can create a muted or neutralized effect. Analogous colors are next to each other on the color wheel (e.g., blue, blue-green, green). Blending analogous colors creates harmonious and pleasing color schemes.
Using a color wheel as a visual reference is highly recommended.
Creating a Gradient Effect
Gradients add depth and visual interest to your airbrushed designs. Here’s a step-by-step guide to creating a simple two-color gradient:
- Prepare your cake and masking as needed. Ensure the surface is clean and smooth.
- Dilute your two chosen colors to a similar consistency. Start with a slightly lighter shade for the background color.
- Load your airbrush with the lighter color. Apply a thin, even coat over the area where you want the gradient.
- Without cleaning your airbrush, gradually add the darker color to the cup, while continuously spraying. Overlap the spray slightly with each color change. The transition should be gradual.
- Continue adding darker color to the cup, and spraying in overlapping passes, until the desired gradient is achieved. The darker color should be more concentrated at one end.
- Allow the colors to dry completely before adding any further details.
Key Questions Answered
What is the shelf life of airbrush food coloring?
The shelf life varies depending on the brand and type of food coloring. Always check the expiration date on the packaging. Properly stored, many liquid food colorings can last for several months or even a year.
How do I clean my airbrush after use?
Thorough cleaning is crucial. Immediately after use, flush the airbrush with clean water, followed by a cleaning solution specific to airbrushes. Follow the manufacturer’s instructions for your specific airbrush model.
Can I use regular food coloring in an airbrush?
No, regular food coloring is too thick and will clog the airbrush nozzle. Only use specifically formulated airbrush food coloring.
Where can I buy airbrush food coloring?
Airbrush food coloring is available online from specialty cake decorating suppliers and also at some craft stores.
